The holidays are officially here and I don’t know about you, but I’m feeling festive. Although we celebrate Hanukkah in our household, my family back in Australia are Christian so for this month’s column I’ve provided a nice blend of both faiths. This will hopefully provide you with the inspiration to decorate, no matter what your family tradition is.
I enlisted the help of my dear friend Vanessa of Design Disposition (and her adorable bulldog Alfie) to create our own DIY real pine garland. Vanessa works at Telus by day, but is an interior designer by trade. She is my right-hand woman when it comes to shopping for interiors and we’ve spent many a weekend together scouring Target and Homesense.
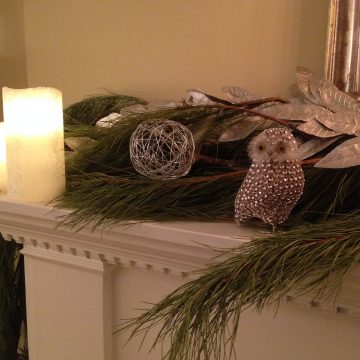
After watching a few awkward YouTube videos, we formulated our plan of attack. Vanessa would make a twelve-foot Christmas garland for her front entrance staircase and I would create an owl-inspired Hanukkah garland for my mantle above the fireplace. The whole project including decorations cost us about $100-$150 and took an afternoon (and a few glasses of wine) to put together.
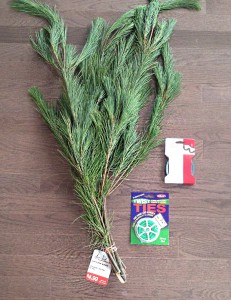
We used:
- 5 x batches of White Pine (from Superstores, local florists or St. Lawrence Market)
- Garden shears or good scissors (Canadian Tire)
- Green twist ties or floral wire (Canadian Tire)
- Hook and Loop Fastener (Canadian Tire)
- Decorations (Homesense, Anthropologie, Crate and Barrel, Canadian Tire, Target, to name a few)
Method:
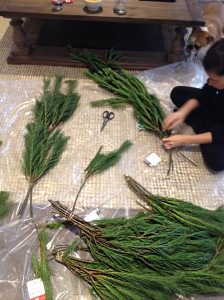
1. Unwrap the batches of pine and organize into similar sized groupings.
2. Begin to place each branch of pine on top of each other and secure with a twist tie. Repeat this process for each branch, picking your garland up every now and again to ensure the twist ties are secure.
3. Once the garland is starting to take its shape, go back and add branches of pine to any spaces or holes. This will keep it looking even and full and hide the twist ties from view.
4. Hang the garland to your staircase using pieces of the hoop and loop fastener. For mantle places, create two six-foot garlands and place them in opposite directions to one another, then fasten in the middle with hoop and loop fastener. Repeat step 3, if required.
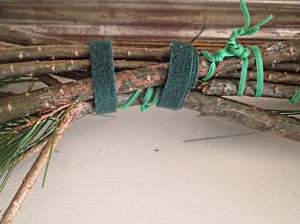
Mantle Place: Fasten two garlands together then hide behind decorations.
5. Decorate to your heart’s content! I try to stick to the same colour schemes every year to build on my previous years’ collection of decorations. To me, nothing says Hanukkah-chic like silver and blue. I find my favourite pieces from all over the place, such as Target and Homesense, but Crate and Barrel is definitely on the top of my list and one store I always visit around this time of year.
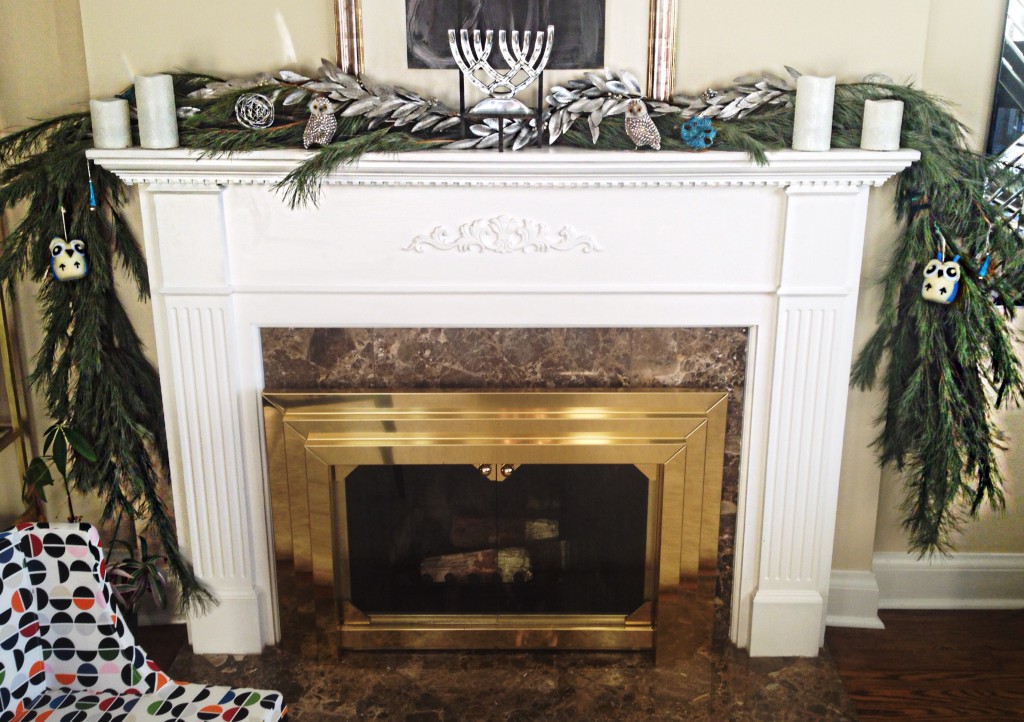
The Finished Product: My first DIY garland
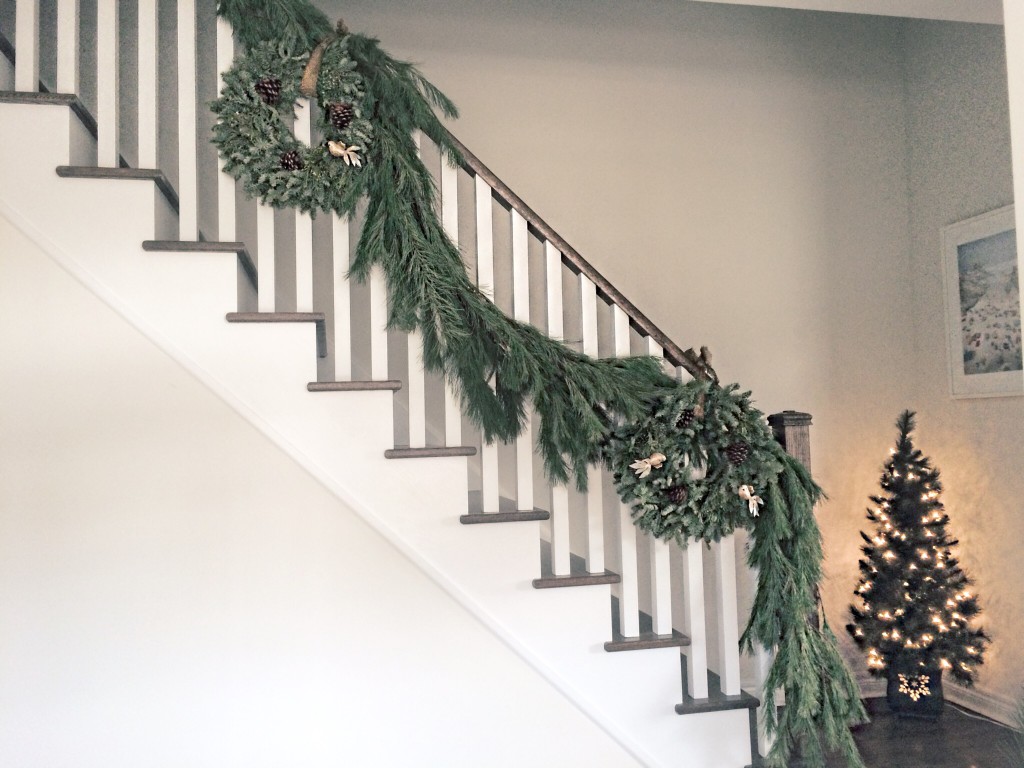
What an entrance! Vanessa’s beautiful stairway garland with real pine wreaths from the girls at Gilded & Green.
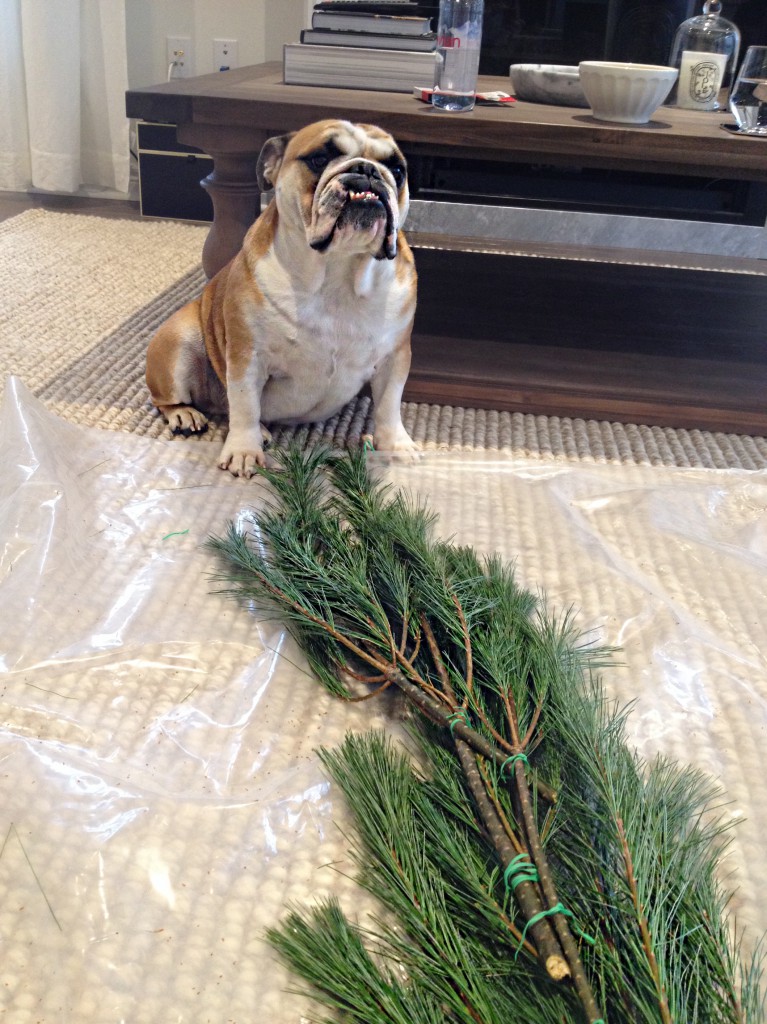
Alfie helps out: Place each branch on top of one another, securing with the twist tie.
Blue & Silver: stars from Crate and Barrel, frame from Homesense.
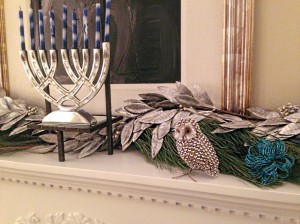
Menorah from Holt Renfrew (last season), candles from Homesense and the owls are from Gilded & Green.


