

Not long ago, I decided to give some personalized champagne glasses to my hair stylist. But I found it next to impossible to find any that weren’t meant for a wedding, and didn’t say “Mrs” or “Bride” on them. I thought about ordering some on Etsy, but I was under a time crunch and didn’t want to wait on the shipping.
I was left with two options: pay a glass engraver a small fortune to personalize them for me, or, you guessed it, do it myself! I had some leftover chalk paint from a previous project and, after reviewing some online tutorials, decided to set out on this super-easy and personalized #ChalkPaintChampagne glass project. I love chalk-paint for its versatility. It works on plenty of different surfaces, including glass. These personalized flutes make for a great gift, so keep that in mind with the fast-approaching holiday season. To make your own, follow my step-by-step guide below:
You will need:
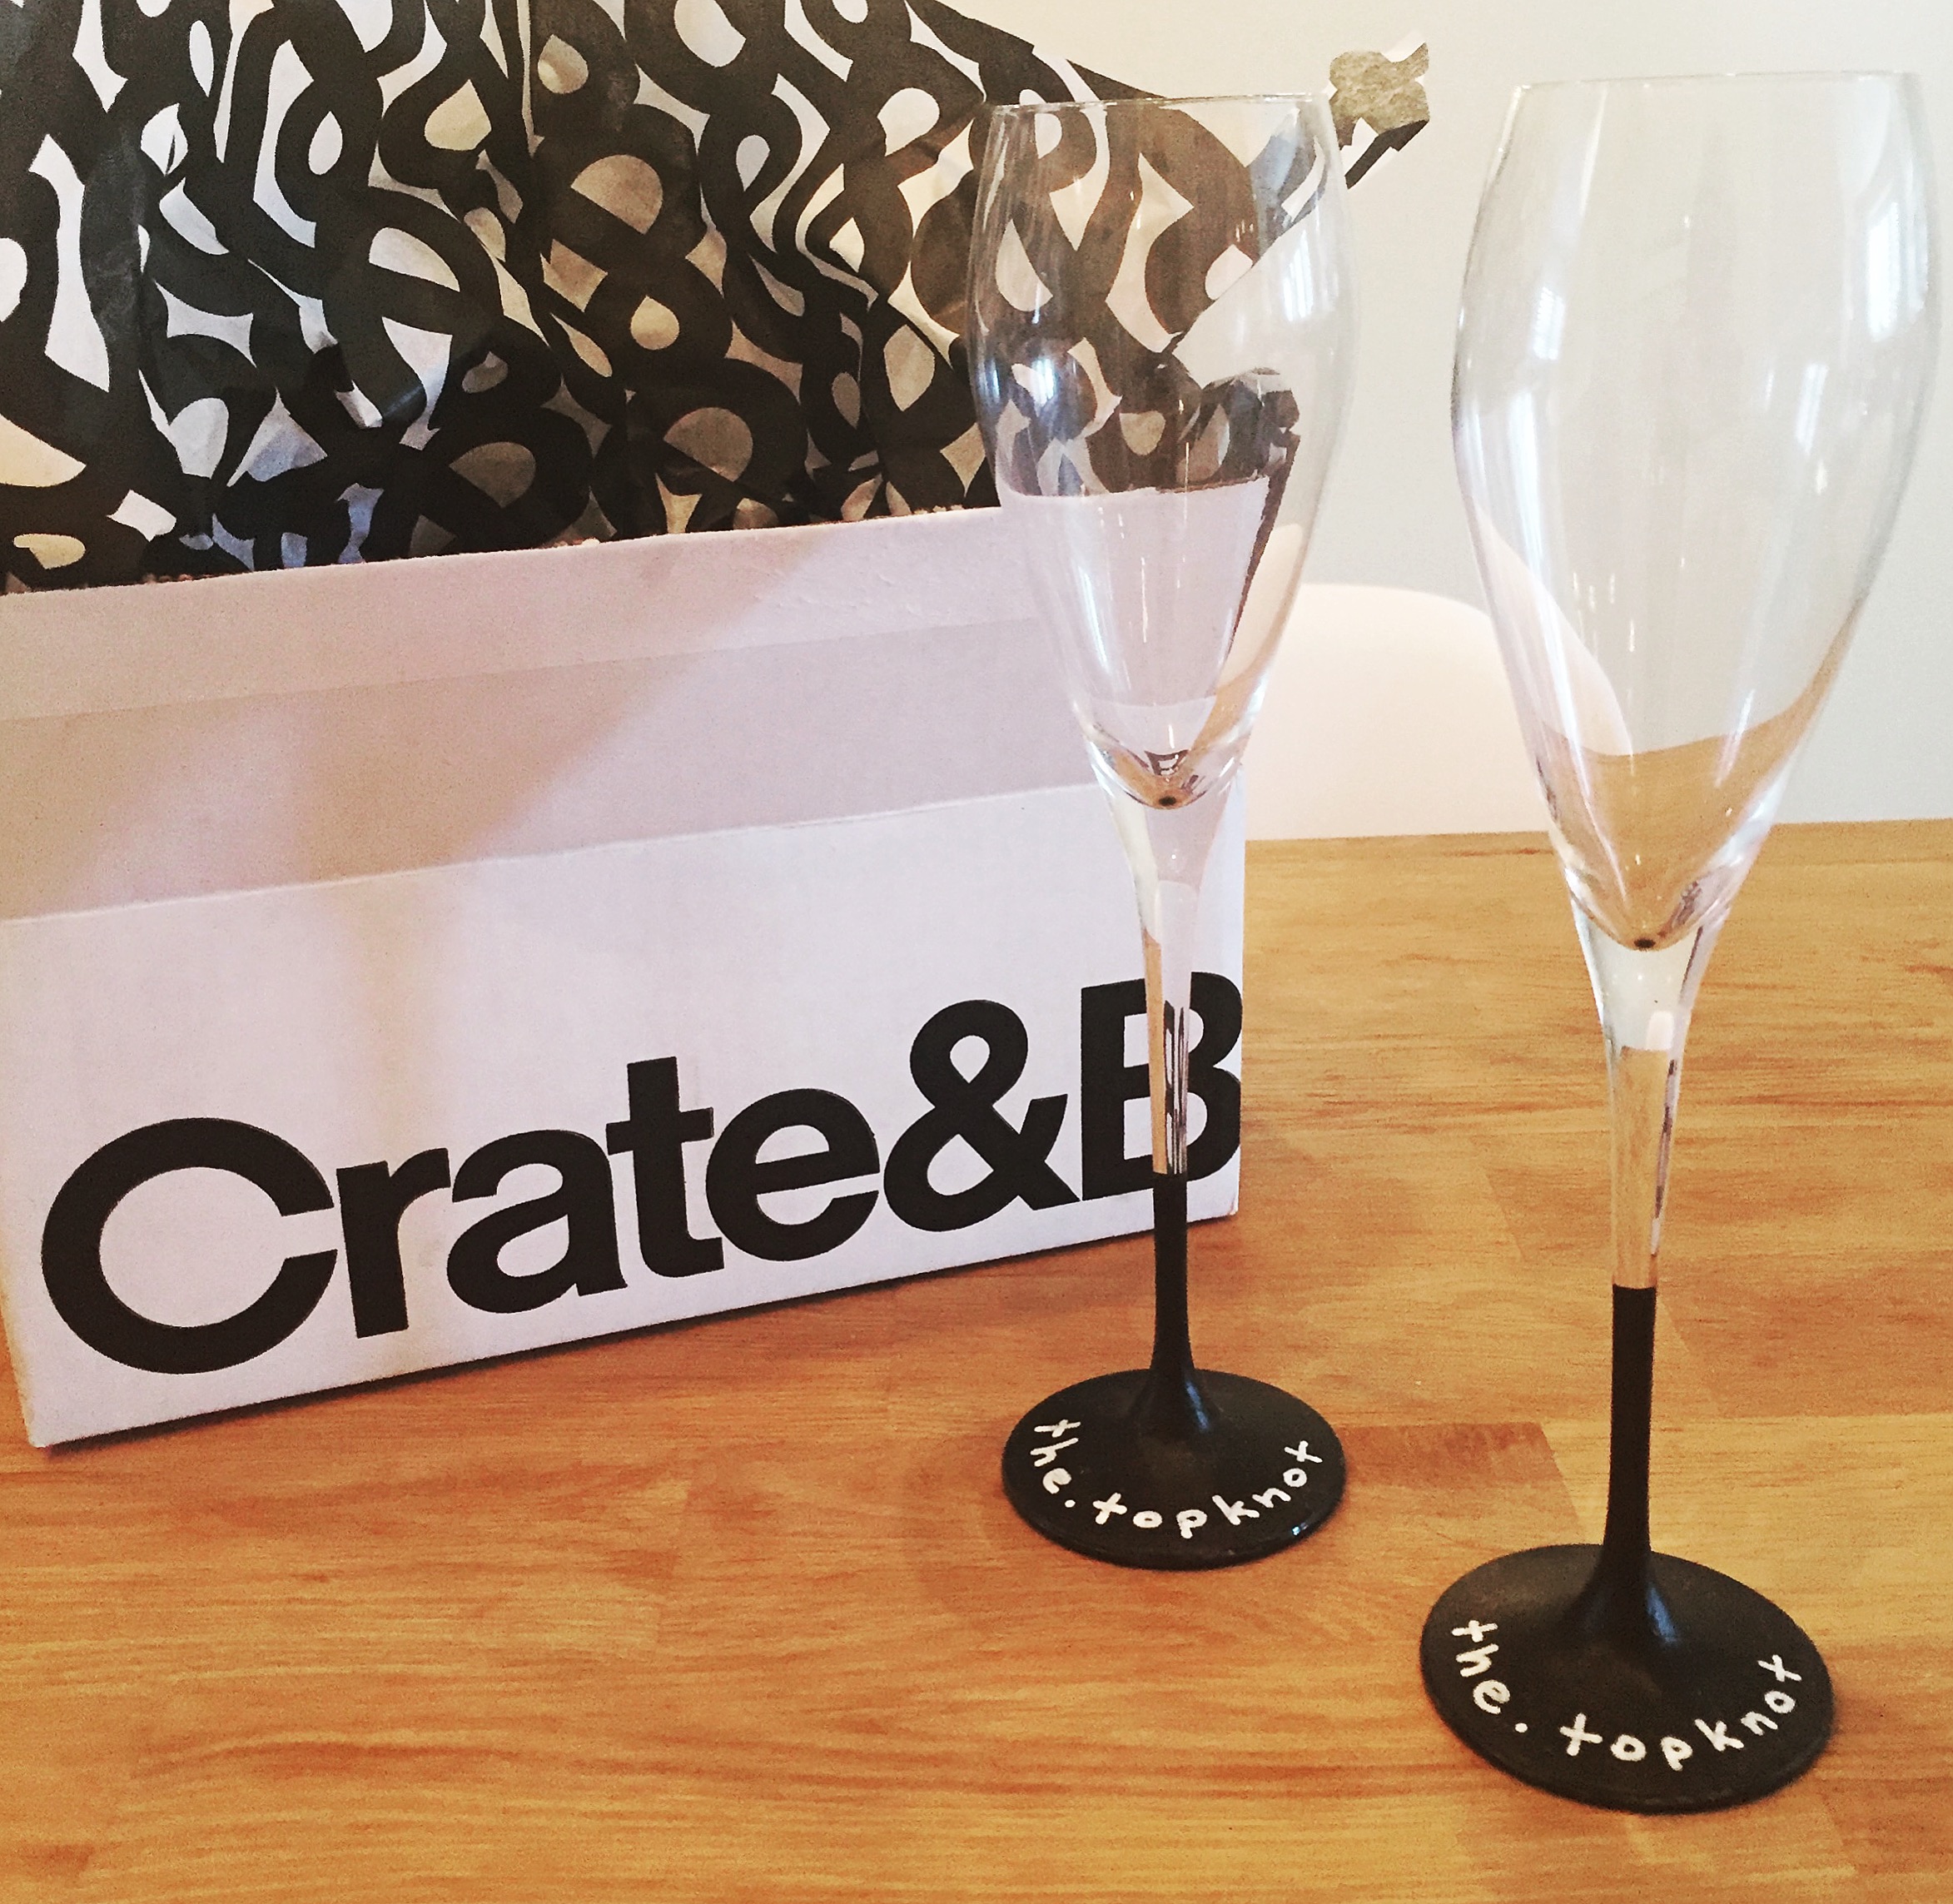
- 2 champagne flutes (I used these from Crate and Barrel)
- Frog tape
- Martha Stewart Crafts Multi-Surface Chalkboard Paint, in black
- Paintbrush, X-Acto knife and scrap paper to places the glasses on while they dry
- White chalk or a chalk marker
What to do:
- Clean the glasses and ensure all tags and stickers are removed completely. I find warm soapy water the best for this. Make sure the flutes are completely dry before you start painting.
- Using your frog tape, tape halfway up the stem of the glass. This will give you a perfectly straight line where the paint ends and the stem begins.
- Get painting! You’ll need at least three (3) coats of the black chalk paint. Be patient. Wait at least an hour between each coat. Also be mindful that you’re going to write on the base of the flute, so the smoother the stroke, the better.
- Once the third coat has completely dried, very carefully peel off the tape. Use your X-Acto knife to ensure the paint doesn’t peel off with the tape.
- IMPORTANT: You must cure your champagne flutes, otherwise the paint won’t set properly when you wash them after use. Place each flute upside down in a cold oven. Turn to 350 degrees and leave them in for 30 minutes. Then, turn the oven off and let them cool in there overnight.
- The next morning, get your white chalk and prime the base of the flutes by drawing all over them and then gently wipe the chalk away with a tissue. This “dusts” the area of the glass and makes it easier to write on later.
- Grab your chalk or chalk marker, go forth and personalize those flutes!
Now just add a bottle of your favourite bubbles and you’re all set.

Emma Gregg is in-house counsel at Travelers Canada, and Precedent’s design columnist. Read more of her tips for DIY decor.
Photo from Emma Gregg.